Straw and Straw Bales MN
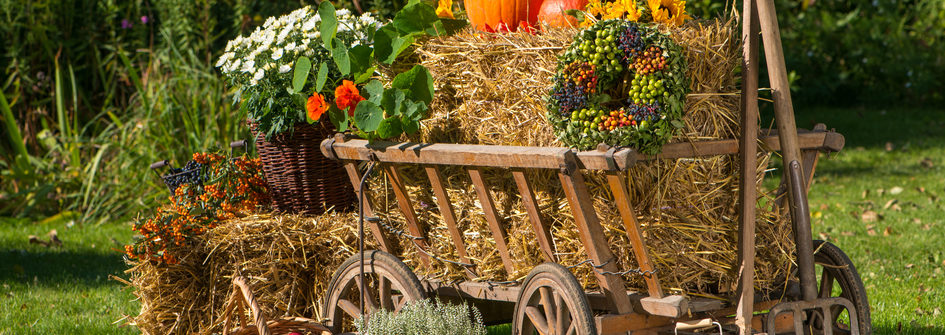
Straw bales have a wide range of uses. From fall-friendly decoration to easy perimeter markers, the expertly packed straw bales provided for use by Wagner Greenhouses are a practical and useful addition to anyone’s home or farm.
While we’re happy to provide straw bales in Minnesota for any use you might have in mind, we’re particular fans of the rise of straw bale gardening. This is a modern and practical answer to popular container gardening. Straw bale gardens can create incredibly productive plant growth. This is due to their ability to both contain and fertilize plants at the same time. Straw bale gardening is great for people who a.) are intimidated by traditional gardening, b.) have poor soil quality on their land, and c.) has trouble with the bending over and other labor involved with traditional gardening.
If you’ve never heard of straw bale gardens before, don’t worry, we’ve detailed the process for creating your own below. If you have any other questions about this interesting way of developing a home garden, never hesitate to contact us. You can do so online or visit one of our garden centers to talk to one of our on-site experts about how to start your own.
How do I make my own straw bale garden?
- Get your straw. This is the easiest part because Wagner Greenhouses has all the straw you’ll need in order to make your very own straw bale garden. All you have to do is visit one of our local garden centers to get your start.
- Position your straw bales. Before you set any bales down we recommend laying down a piece of landscaping fabric. When you arrange your bales, space them evenly in rows. Place the cut-side up with the strings that bind them running along the sides. Make sure there is space for you to move between rows of bales.
- Condition the bales. This is the most important part of building your own straw bale garden. Straw bales aren’t an ideal incubator for plants right away. They need to be conditioned first, which essentially means that they need a little time to decompose. Two weeks before you plan on planting, you’ll need to wet and fertilize the bales. The exact amount of fertilizer and water you use will depend on the type of bales, how much, and the environment you’re in. You know you did it right when, if you touch your bales prior to planting, they feel warm and moist with black mottling that signs the beginning of the composting process.
- Build around your bales a trellis to help your plants grow properly. This will help support the growth of plants like tomatoes, cucumbers, and squash.
- Plant your plants! Pretty self-explanatory. If you’re here, it’s likely you already know what this process entails. However, we do recommend that you cover your bales with around two layers of planting mix to sew your seeds into. This will allow them to develop their roots straight into the bales themselves, promoting healthy growth.
- Watch your plants grow, and when they’re ready for harvesting, collect them. A single soaker hose laid over the bales will provide enough water to keep them healthy. The fabric you laid down before your bales blocks weed growth, so you’re good to go.
Stop in today to one of our garden centers to learn more about this process and take the first steps toward starting your very own straw bale garden in Minnesota.
